I decided to make a pencil wreath for a friend of mine who teaches middle school math. She saw a pencil wreath on-line and subtly suggested that I make one for her room. I wanted to make my wreath more full and use more pencils. I also experimented with what I hoped would be a more sturdy cardboard backing. The following pictures record each step in the process.
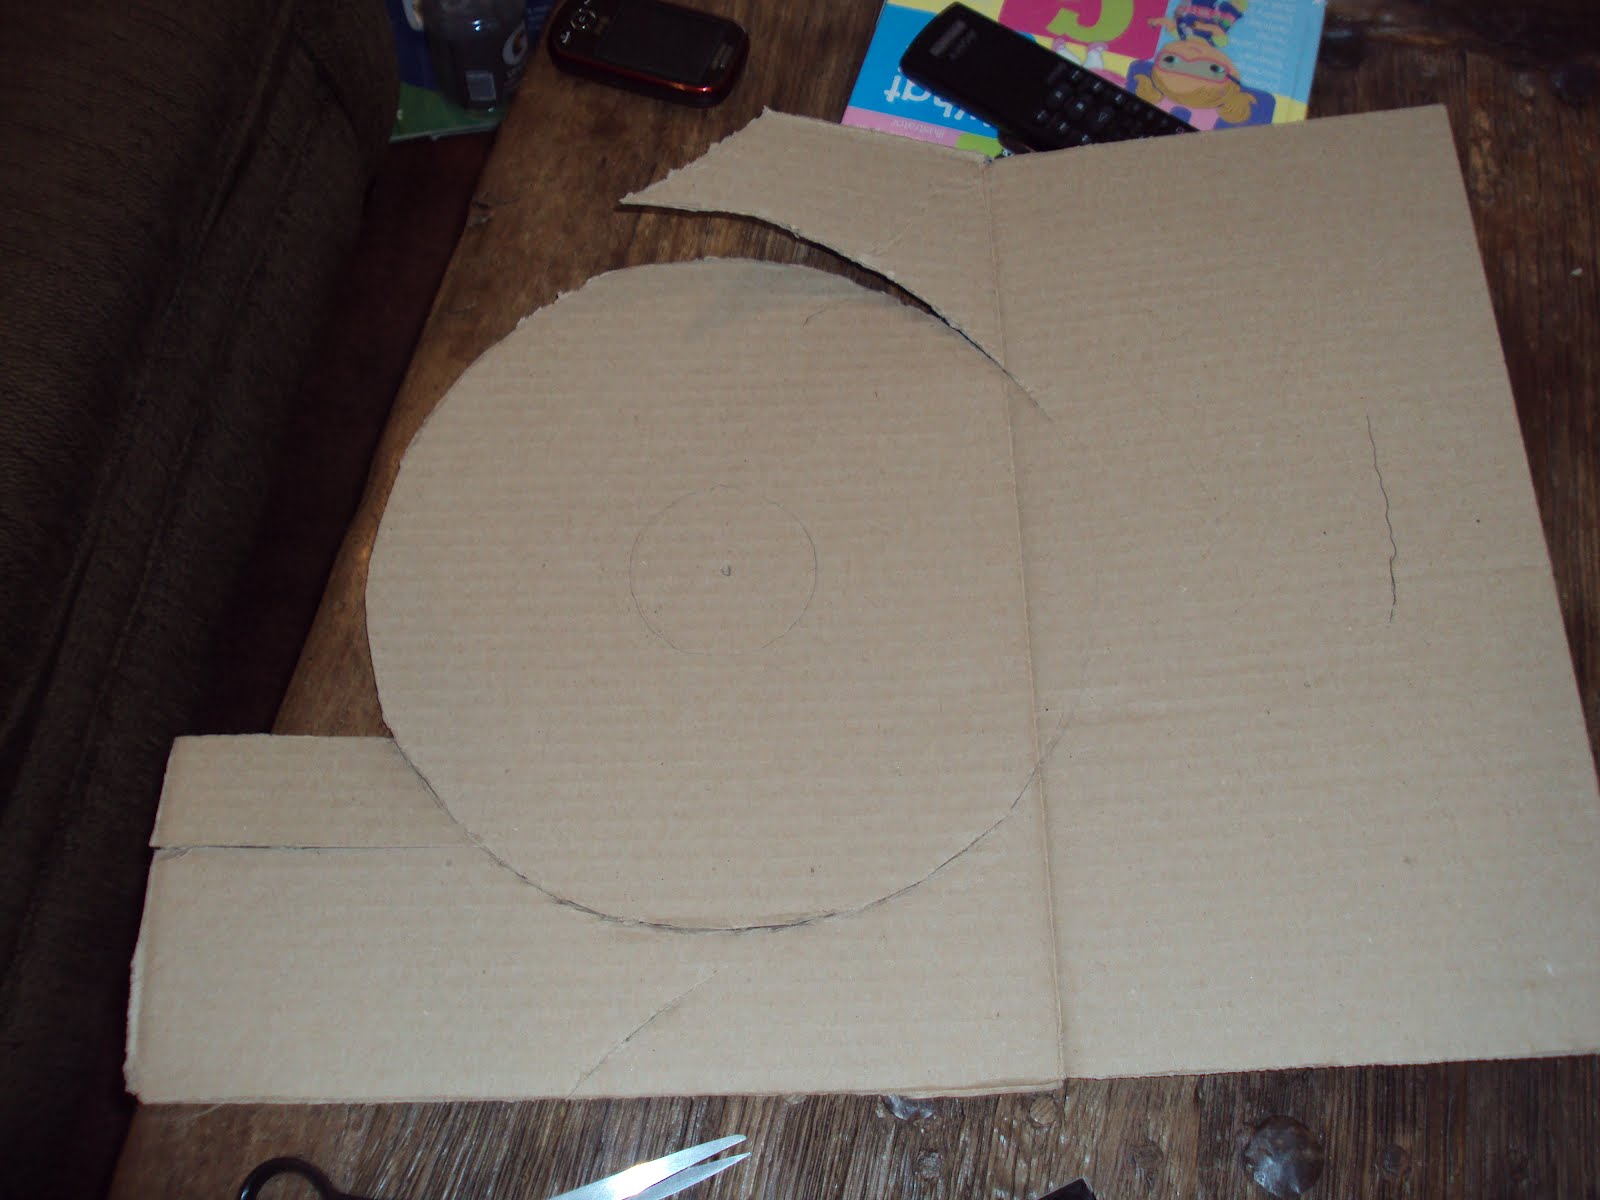
To create my backing, I used a compass to draw two circles on a scrap piece of cardboard.
I then hot glued three pencils, side-by-side, at the top and then the base of the board. I repeated this step for the right and left side. I then placed two pencils to bisect each of the four quadrants. I created a feeling of symmetry by mirroring my actions from one side of the backing to the next.
As the space between pencils became smaller, I began sharpening the pencils. There were four lengths of pencils once complete.
I then hot-glued a ruler in the center to serve as a nameplate. Later, I hot-glued a layer of crayons to fill in spaces between the pencils. Finally, I hot-glued a ruler to the back of the board and panted the central ruler.
I used painters tape to isolate the area that I wanted to paint black. Acrylic paint was used. I put an Elmer's glue cap on the top of a small white Acrylic paint bottle to make writing letters easier. The final result is pictured. While not perfect, I am pleased with how the wreath turned out and think it was a good first effort.
Materials: 80 pencils, 80 crayons, hot glue sticks, hot glue gun, 2 rulers, Acrylic paint, Painters tape, Compass, Pencil, Scissors, Scrap Cardboard
Time to Complete: 5 hours
Here are two other examples that I found on pinterest AFTER beginning my own wreath. I like these just as well or better than mine.
Example 1
http://fancyfrugallife.blogspot.it/2012/07/crayon-pencil-wreath-back-to-school.html
Example 2
http://thenatureofgrace.blogspot.com/2011/08/back-to-school-pencil-wreath.html


No comments:
Post a Comment